Back in 2007, a friend of mine bought a custom tailgate for his truck. It was designed to make loading and unloading motorcycles easier by reducing the angle of the ramp, and also to allow the tailgate to close when hauling bikes in a short-bed truck. I got a new truck in 2011 and wanted to get the same product he had. I looked at the time and the company that made his still had their website up and appeared to still be in business. Fast forward a couple of years - I was finally ready to purchase one, only to find the company had taken down their website and did not respond to email or phone calls.
Having quite a bit of professional experience in welding and metal fabrication, I came to the conclusion that if I couldn't buy it, I'd make it! So, armed with a few photos I set out to build my own version: the "Motoloader Tailgate". It had been many years since I took on a project of this magnitude, or even had done any welding and fabrication. I also did not have access to a well equipped shop any longer. The first order of business would have to be equipping my garage with some basic metal working equipment to turn it into a halfway decent fab-shop. A couple (OK, several!) trips to Commie Freight (the tool store that sells all of the Chinese tools) and a few online orders took care of that! (It also was extremely helpful that my neighbor has a very well equipped machine shop!) After that, I wrote down some basic measurements and calculated the amount of raw materials I would need. I did not draw any plans, they were in my head and subject to change......
------After a trip to the steel yard for raw materials, I needed to figure out how to address the pivots for the tailgate. The factory brackets were simple enough; I considered just using them and bolting them directly to the Motoloader Tailgate. The left side bracket has a rectangular pocket, with a radius on each end, that keys into the male mounting post on the truck. The post is connected to a gas charged, hydraulic assist/damping unit and it was important to me to keep this functionality. The right hand side is just a circle with a notch that allows the tailgate to be removed when at approximately a 45 degree angle. Bolting the factory bracket on would have accommodated both. I started down that path but ultimately decided it would look crappy and also make it a pain to switch tailgates quickly if desired. I then proceeded to build new pivot brackets from scratch. Thanks to my very talented neighbor (a retired engineer, Vietnam Veteran, and amazing Craftsman), the pockets on the mounting brackets were recreated using his mill, lathe and TIG welder. He did an fabulous job fabricating these for me. He's a great guy and we jokingly refer to them as the $400 pivots because of the time and effort he spent on them!
Note; If you click on a picture, it will open them up in a gallery view where you can see the larger versions.
Note; If you click on a picture, it will open them up in a gallery view where you can see the larger versions.


------After determining the appropriate shape for the mounting plates that would hold the pivot pieces, I cut the rough shape on my band-saw, out of 1/4 steel plate, then finished rounding the corners on a bench grinder.

------The hole drilled in the right hand plate is to accommodate a snap - in bushing that the tailgate pivots on.


------Now that the pivots were figured out, I cut the 1 1/4 X .120 square tubing and welded the basic frame structure together. Nothing fancy here, just had to make sure band-saw was adjusted to cut as square as possible. The uprights are set to be as close as possible to the latch hoops on the truck.

------With the basic frame is together, I welded my pivot plates and pockets to the frame.


------TEST FIT TIME!!! WOO HOO, test fit revealed everything fits perfectly. There is no side- to- side play and the uprights fit very close to the side of the truck and are within 1/16" of square! **Note, in the pictures of the uprights, the truck has U shaped latch hoops (the silver parts to the inside of the tail lights). This differs from my friend's same make and model truck that is a few years older, which uses a pin style catch for the tailgate latch. Also note that there is a little rubber bumper above each hoop, these will come into play later!


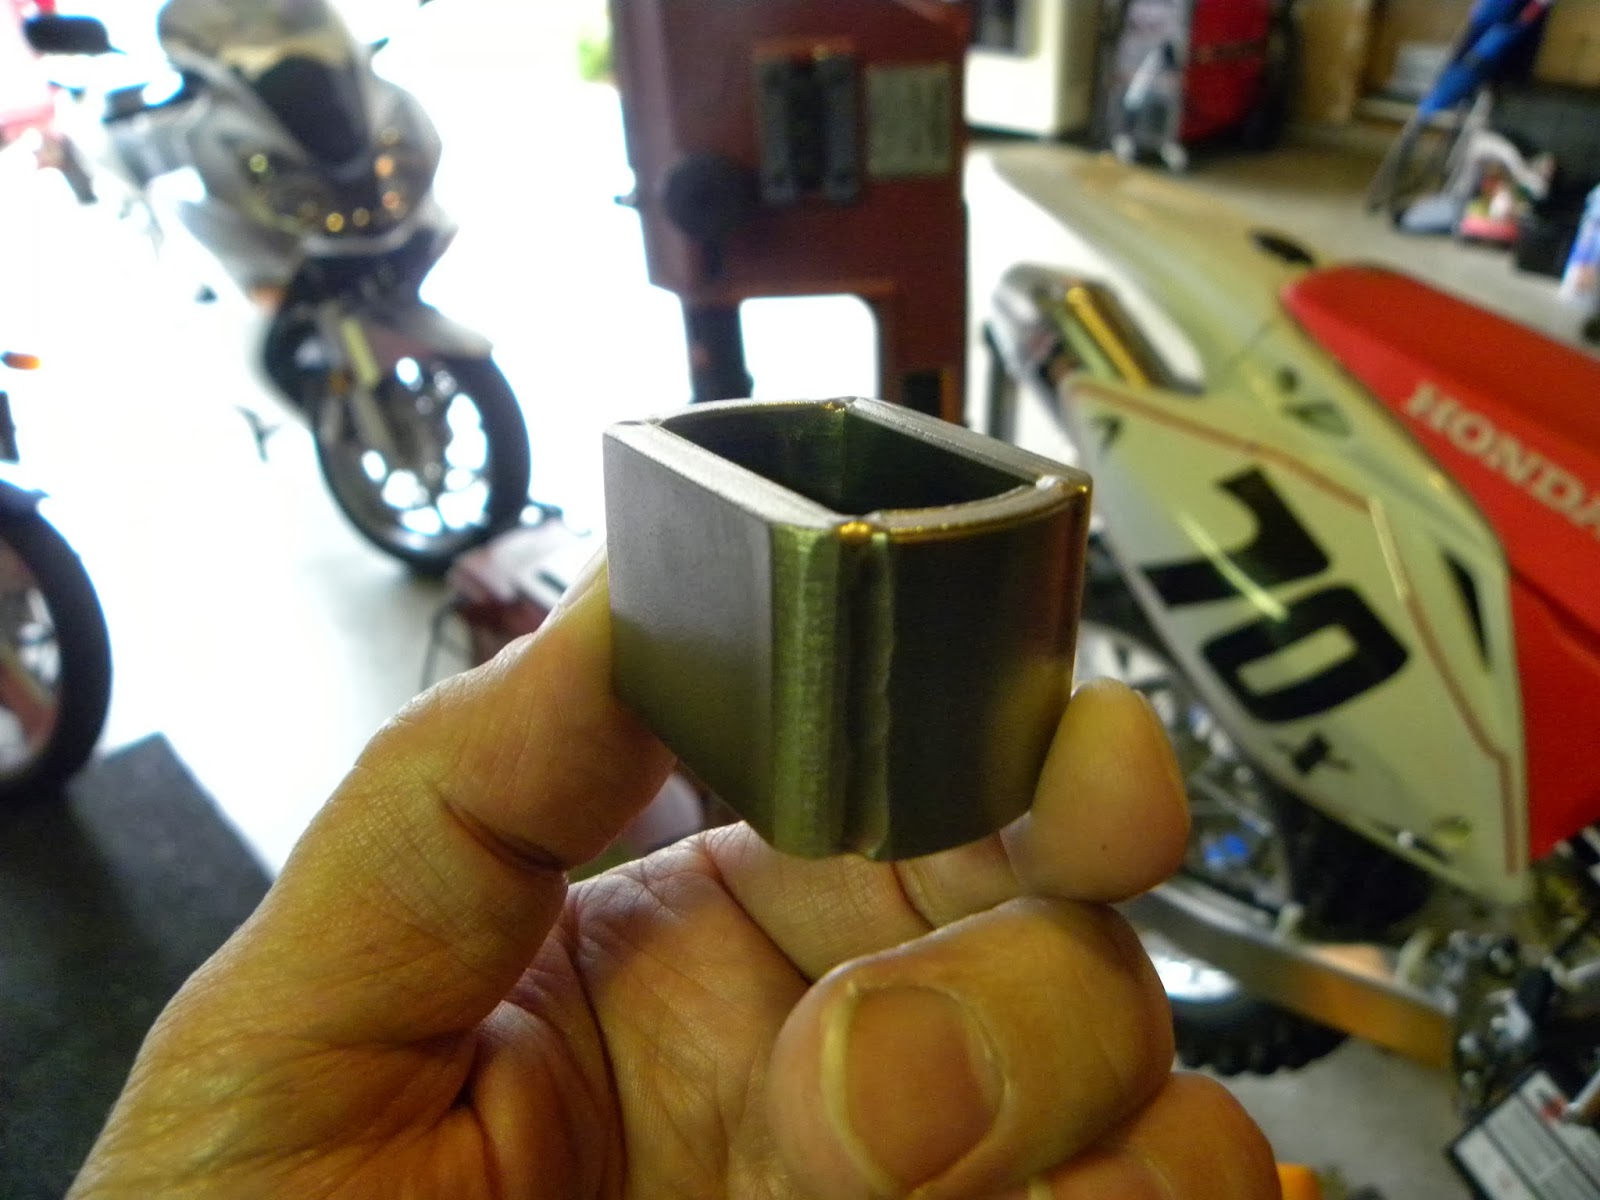
------Next up was to figure out some kind of latch. As mentioned previously, the truck has "U" shaped loops for the factory tailgate latch to engage. I pondered possibly fitting the factory latch mechanisms or building some type of automated latch. In the end, I decided to use the K.I.S.S. (Keep It Simple, Stupid) method of engineering. I cut some 2 inch X .250 wall square tubing, about 3/4" wide. Then I cut the bottom edge out to clear the "U" shaped loops. I tack welded these in place so I could get an exact location to drill holes through the square tubing. The holes are precisely placed to allow hitch pins and/or a locking pin to drop down through the top and pass through the inside of the "U" loop.The square tubing I used was chosen so that it would contact the rubber bumpers. The pins and bumpers hold the tailgate closed tightly with no slop that would lead to it rattling!


------I also built threaded blocks for the factory support cables to attach to and welded those into place while working on the latches.


------The next hurdle was to figure out how to bend the 1 1/2" X .120 wall tubing to form the upper and lower hoops of the extension. I thought about getting a $100 Commie Freight pipe bender to bend it myself but figured I'd ruin $60 worth of tubing figuring out how to get it right! Besides, they are a PIPE bender, made to bend thick wall pipe, not thin tubing. Sure, people do use them for tubing but I thought it was just too much trouble and aggravation for what it was worth.
I found a local welding shop that does roll cages, etc. I made a template out of PVC pipe and took that and the steel tubing to him. He did an awesome job bending it and cheaper than if I had tried to D.I.Y. which would have probably resulted in "R.I.Y." (Ruin it Yourself!)

------Once I had the bent tubes back home, I had to figure out the correct placement for them. There were several things to consider and angles to work out for the placement of the lower bar. It is dictated by the clearance between the bumper and the outer ramp portion when the tailgate is lowered, and the rear tire of the bike and the outer ramp portion when closed. (You will see a little later!) Once bars were positioned, I just tack welded them in place.


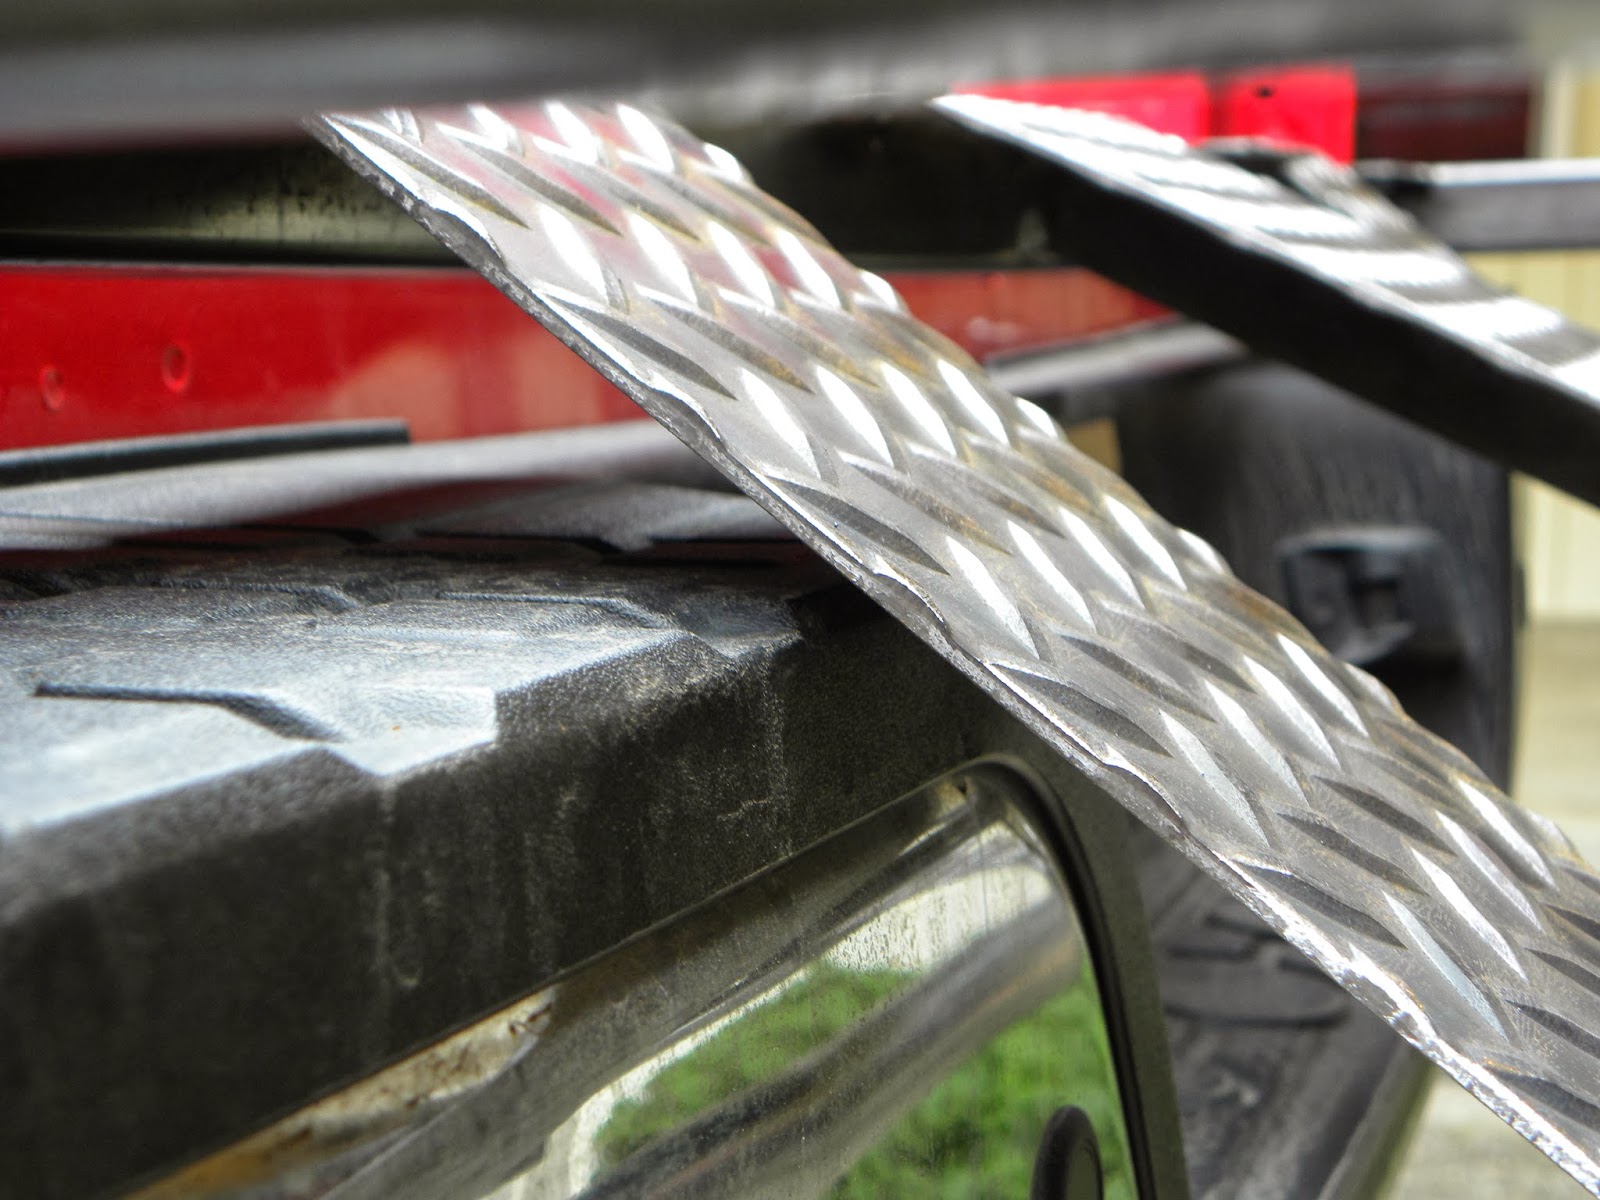
------With the bars positioned, I was now able to begin building the ramp portions. I used 1/8" thick, diamond tread steel plate for these. I needed a way to bend this steel but did not have access to any kind of brake. Plus, it would take a fairly heavy duty brake to bend 1/8" steel! I could have simply cut each plate where they needed to bend and weld them to the bars separately but this would not look satisfactory to me. I was adamant about each ramp being one continuous piece. So, using a circular saw with a metal cutting blade, I cut a kerf into the back side of the steel where I needed to make the bends. The kerf is about 1/2 way through the thickness of the plate. This reduces the amount of force required to bend the metal significantly!


------Then, using a piece of angle iron bolted to my workbench, (poor man's brake!), I was able to hold the metal down and bend it over the corner of my bench by hand. (my wife's folks were in town for the weekend so her step father helped me make a few bends -thanks Jim!) I was not worried about the kerfs weakening the steel because they are placed so that they will be filled back in with weld when the plates are welded to the tailgate.


------Here are the ramp plates tack welded in place to the main frame. It's really starting to take shape now!

 |


------ Now with the bike loaded you can see the second factor, the outer ramp portion just touches and squishes the tire a little when the gate is closed. Good thing I made my calculations with a brand new tire on the bike!


------OK, here it is all cleaned up and ready to go to Line - X!


 |
TA DA...THE FINISHED "MOTOLOADER TAILGATE"!!!
   
------I also modified my ramp so that it hooks securely over the tailgate. Absolutely no chance of the ramp slipping off!
    ------That's the end of this project but I have another one brewing in my head!! Stay tuned................ |